# Introduction
The main function of Sendcloud Sync is to push shopline store orders in real-time to the Sendcloud platform. At the same time, when the logistics status of Sendcloud orders changes, the status is synchronized to the Shopline management background.
# Steps to use
1.Register for a Sendcloud account at the Sendcloud official websiteSendcloud Official website (opens new window)
2.Log in to Sendcloud and follow the Sendcloud platform setup guide to complete the Sendcloud platform configuration.
3.Enter the Sendcloud personal center and generate a key.
4.Log in to your Shopline store background and install the Sendcloud Sync application.
5.The installation process of the Sendcloud application requires your authorization. Please agree to the authorization to complete the installation.
6.After completing the installation, enter the Sendcloud Sync control panel.
7.In the control panel, configure the parameters generated in step 3 and fill them in the corresponding properties.
8.Submit an order in the Shopline store.
9.The order is pushed to Sendcloud.
10.Click the Sendcloud management background jump button in the control panel to enter the Sendcloud management background.
11.Check your orders in the Sendcloud management background.
12.Done.
# How to generate a key in Sendcloud.
Settings->Integrations->Most popular integration types->Sendcloud API->Save


# How to configure parameters in the control panel of ShopLine.
Log in to Shopline->Applications->Sendcloud Sync->Configure the parameters->save the changes->complete

# Return
Users on Shopline can use Sendcloud to process returns. At the same time, the logistics status information of the return will be sent back to the Shopline management backend, and the order status will automatically be changed to "Return". To use the return feature, your order must have been synchronized to Sendcloud using the Shopline Sendcloud plugin.
# Configuration Steps:
1.Upgrade your SendCloud account service to Premium in the SendCloud management backend.Upgrade your account (opens new window)

2.Bind your credit card in the SendCloud management backend.
3.Create your Brand in the SendCloud management backend. Fill in the required information for the Brand, such as Name, Screen logo, Webshop URL, and Shipping Portal URL. Configure the Header and Footer based on your actual needs. These pieces of information will be visible to users who want to return items.

4.After configuring the above information, your return portal is activated. Copy the return URL and place it on your Shopline independent site to provide return services to users.

# Usage Steps:
Merchant
1.Purchase products and place an order on the Shopline independent site.
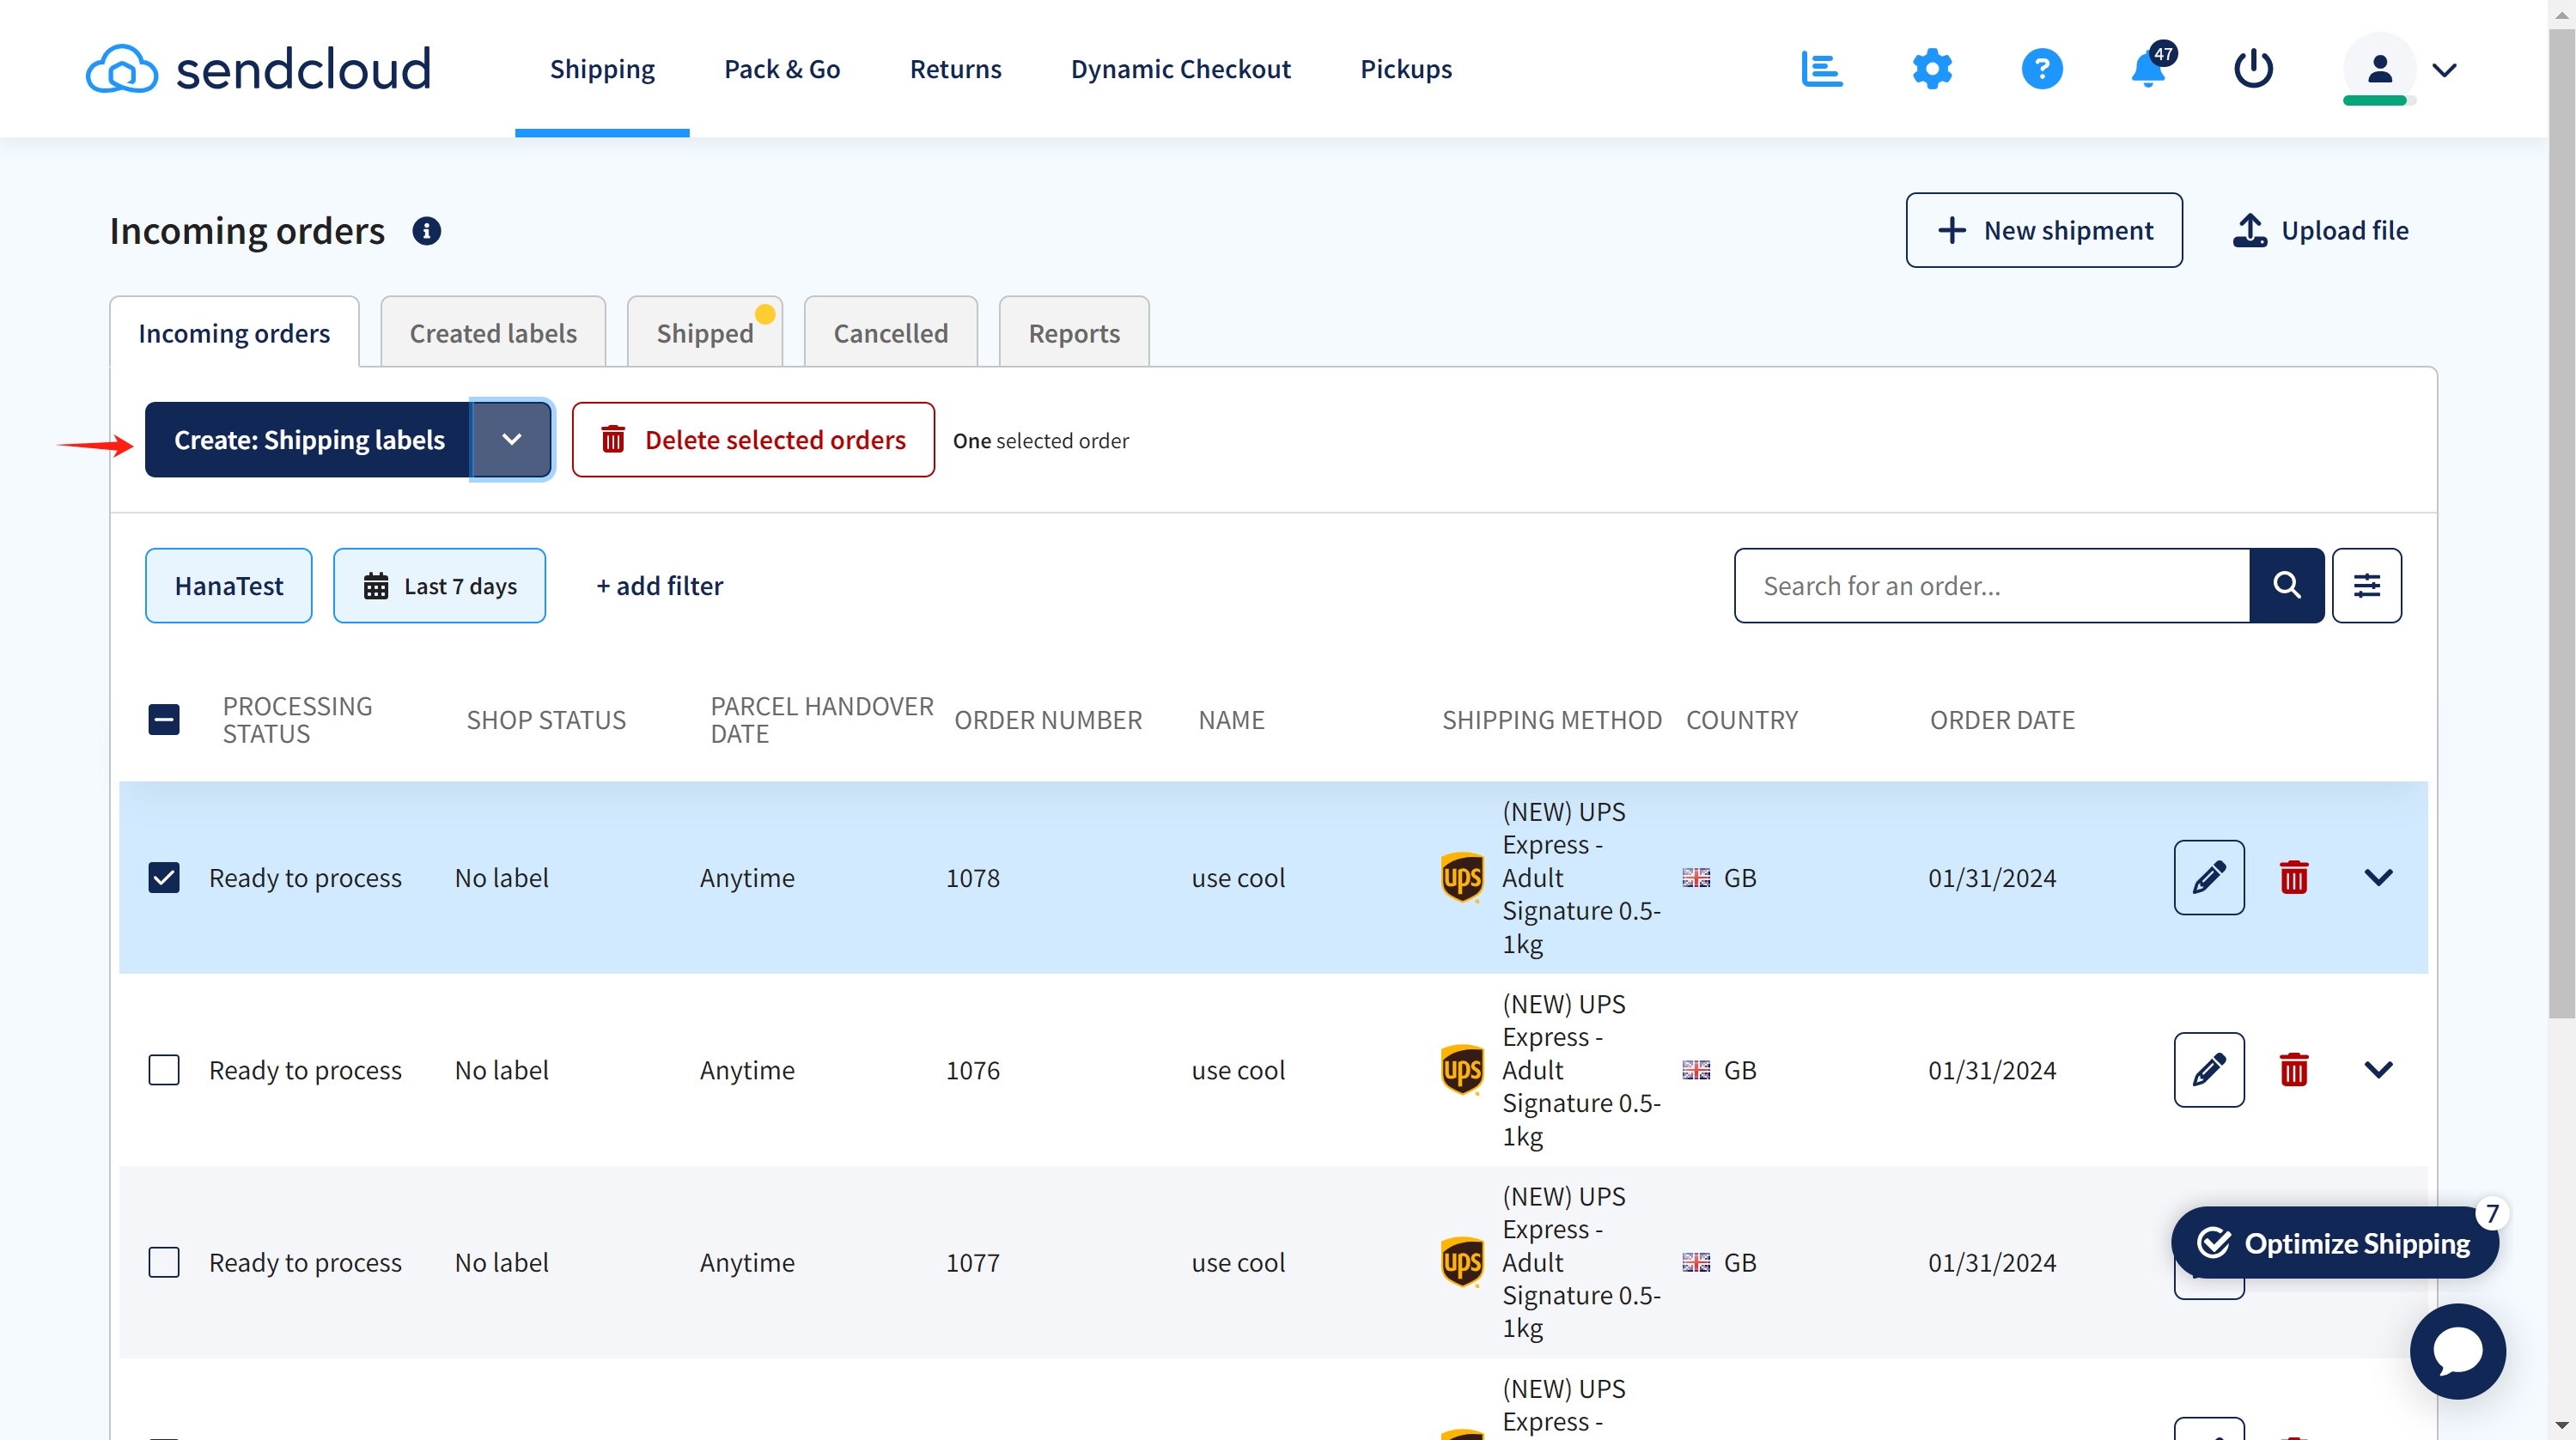
2.The order will be synchronized to SendCloud.
3.Manage logistics delivery in the SendCloud backend.
 User
User
4.When users receive the products and want to make a return, they open the return link generated by the merchant in SendCloud, such as myreturn link (opens new window)
5.Upon opening the return link page, users need to prepare two parameters: Postal code and Order number. Fill in these parameters and click the Start button.
 6.Select the products you want to return

7.Choose the reason for the return

8.Select your preferred refund method

9.Confirm your return information
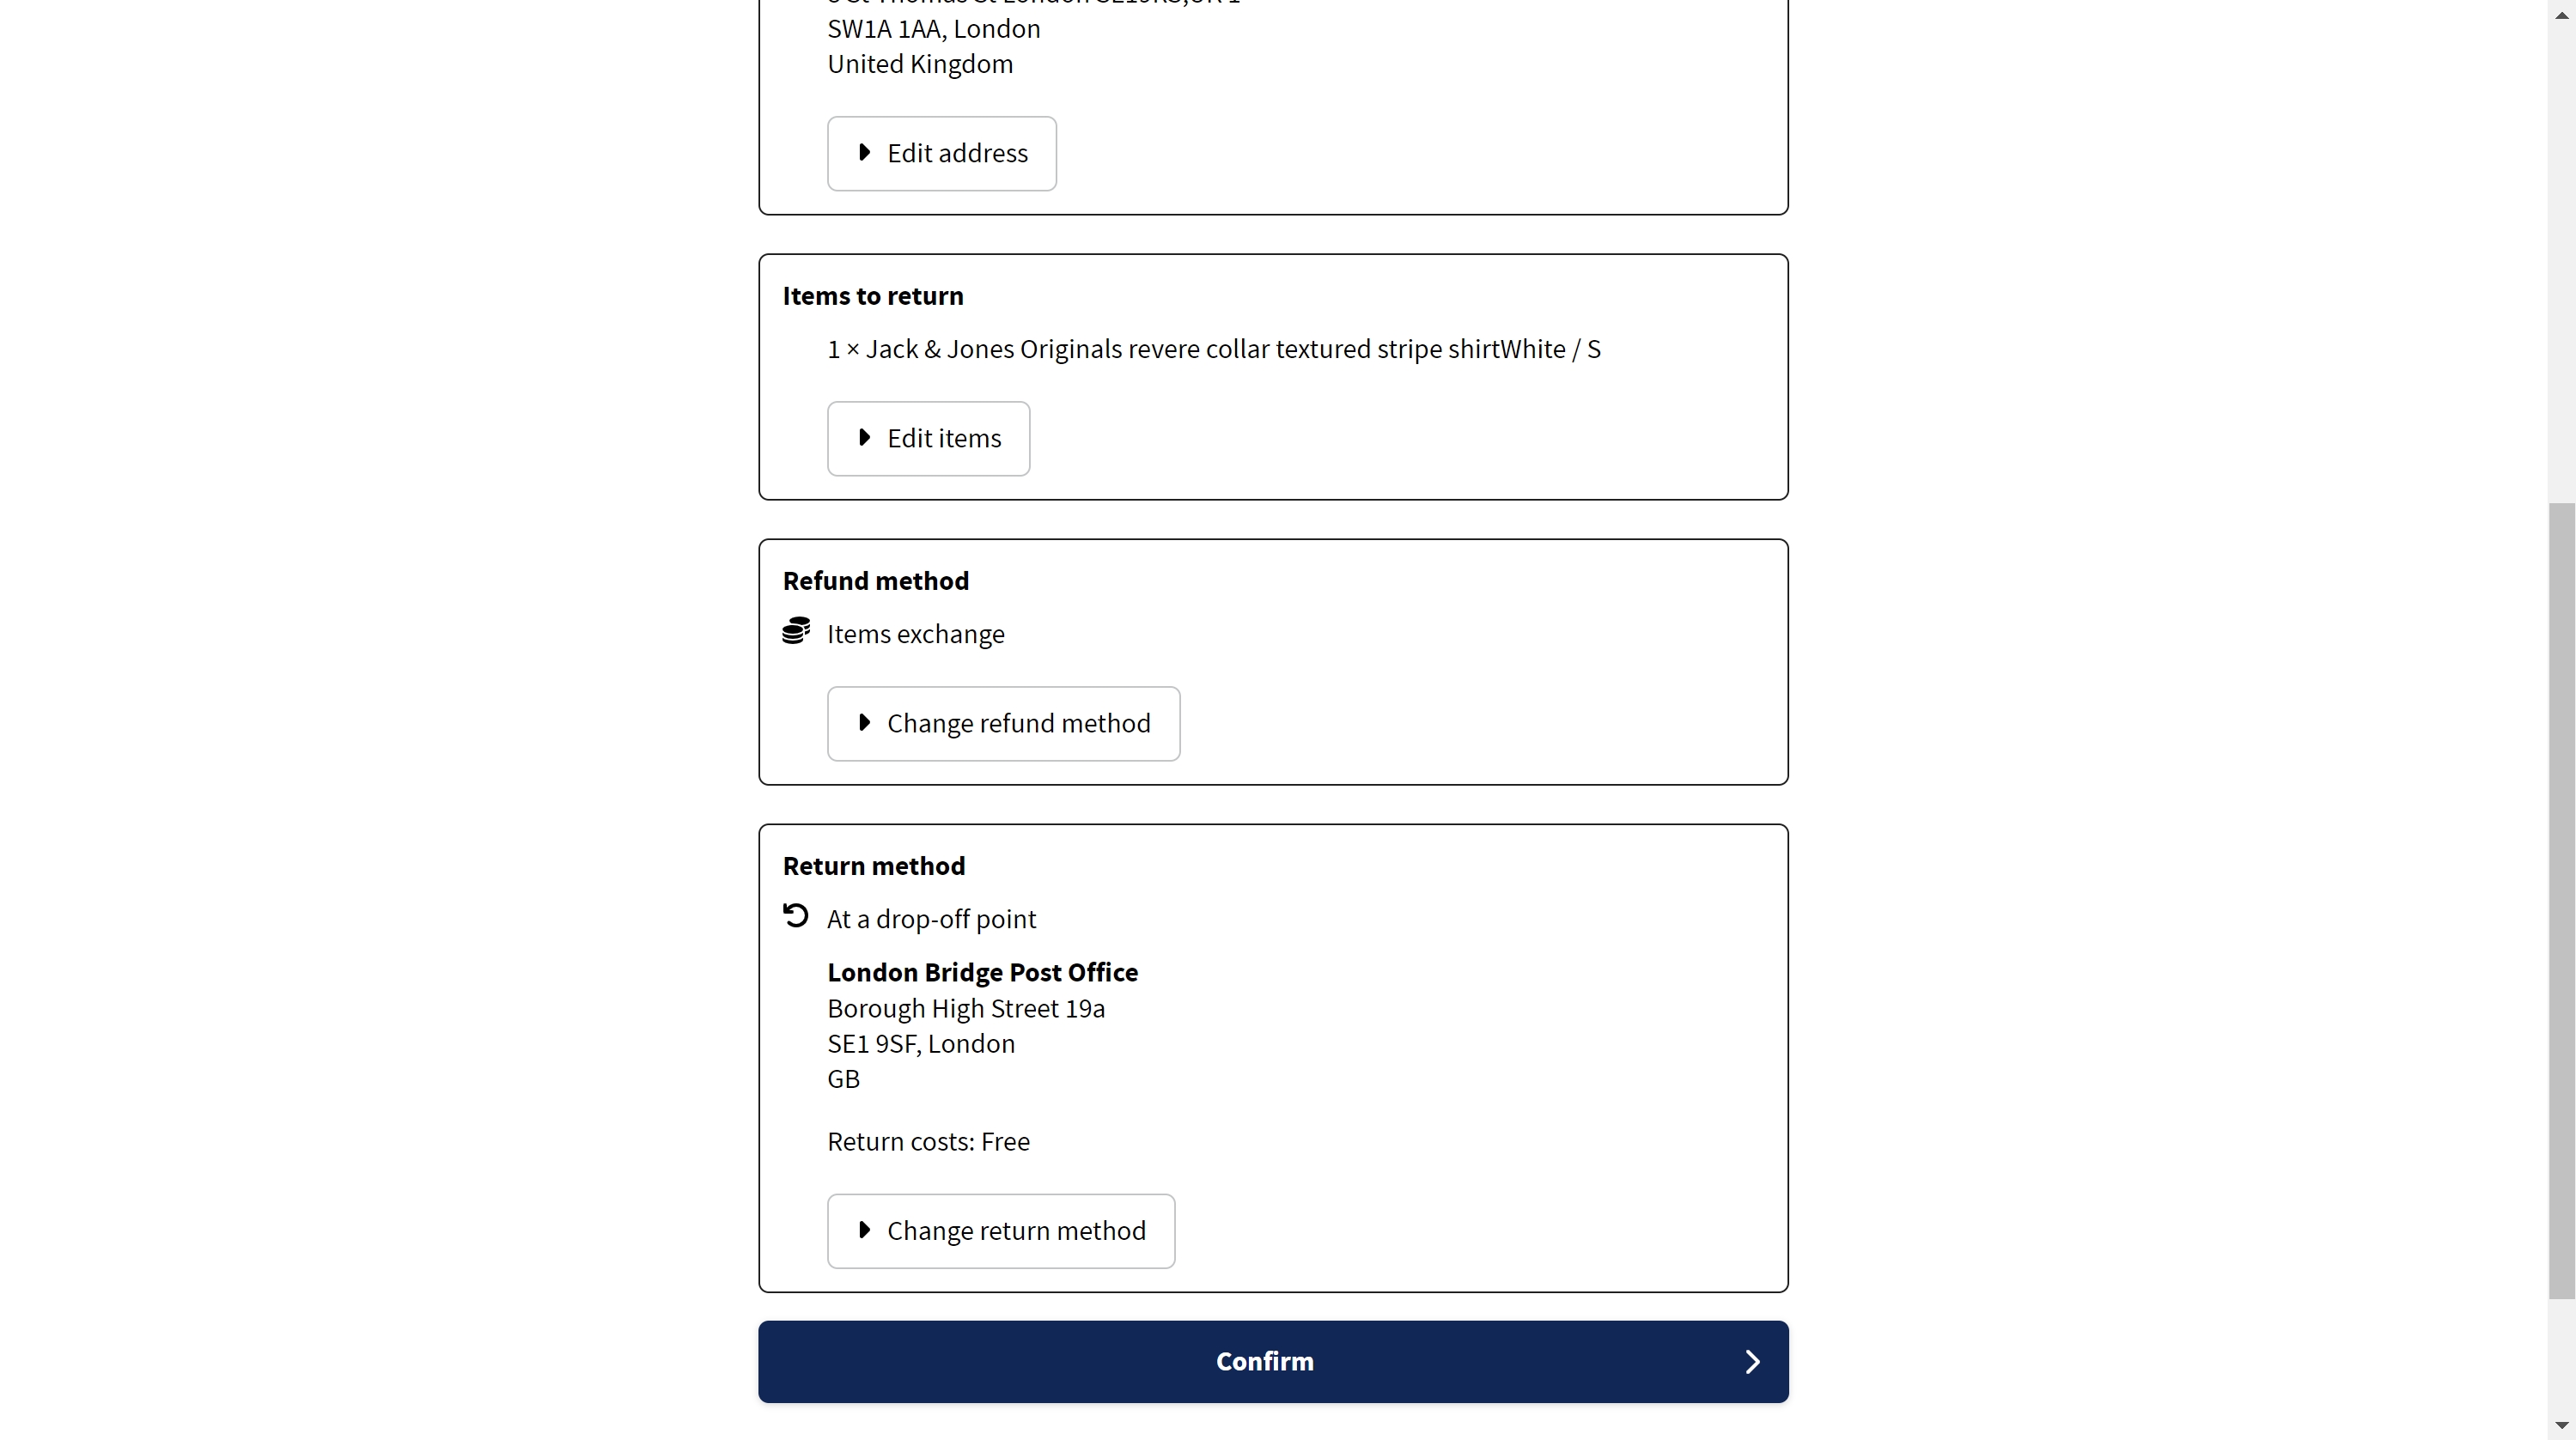
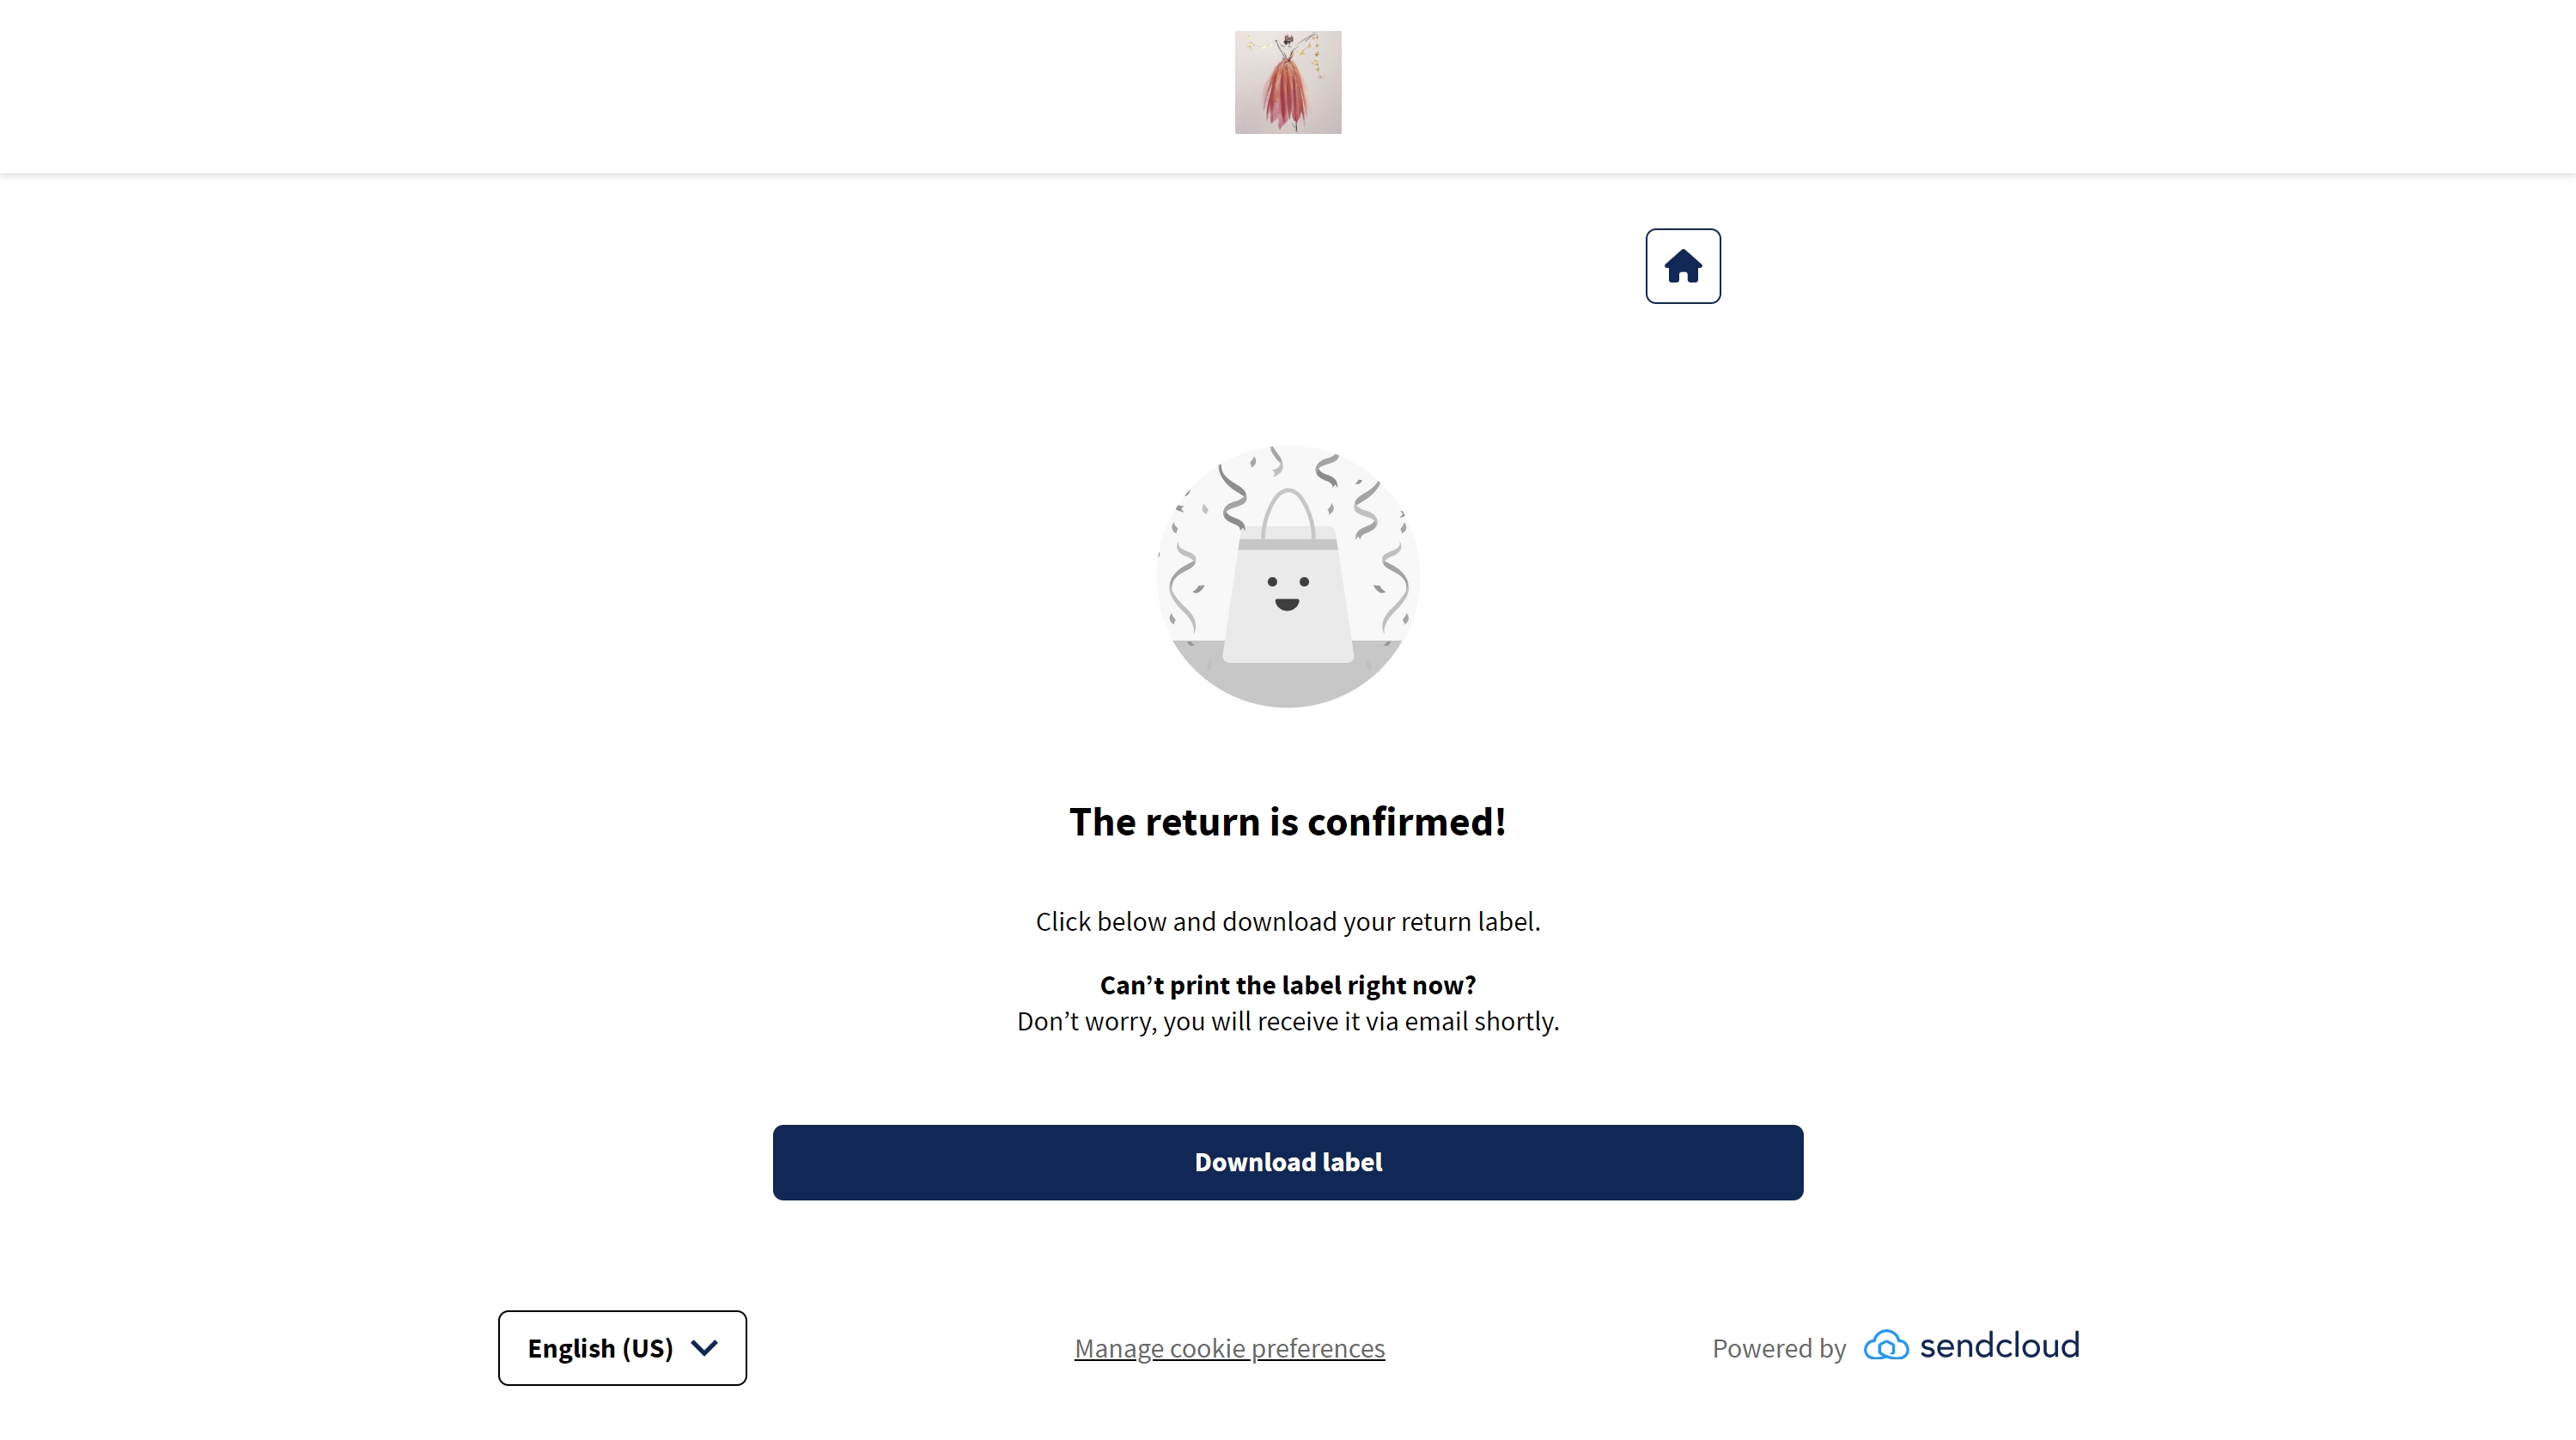
10.Complete the return process
# Merchant
11.Merchants can access the Shopline independent site's merchant backend to check the order status. The order will be automatically marked as "Return". At this point, the return process is completed
